To begin with, I actually knew nothing of dry-brushing and marvelled at the swords shown in the old Space Marine codex showcase. Nowhere could I find a decent guide, so I sort of bluffed my way through until I developed a decent technique on my own. A technique which, I later found to be the way almost everybody else works; dry-brushing. There's also air-brushing, but I can't get mine to work for me--
So--
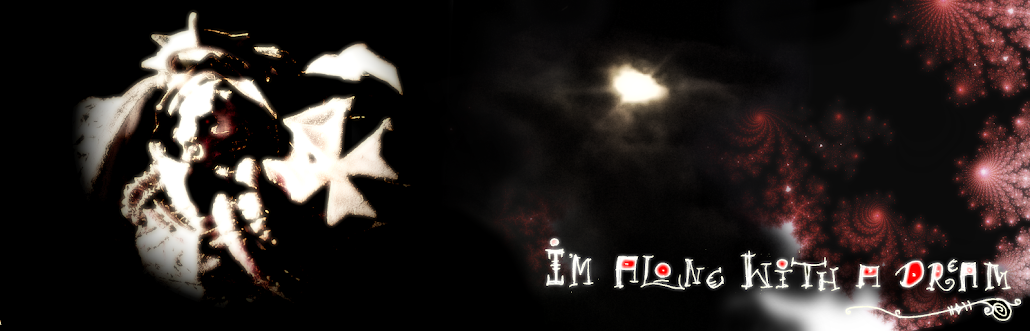
.JPG)
I use two brushes; a dry-brush and a stippling brush for the extra step which I believe you can already guess.
I cannot stress enough how important it is to keep your dry-brush dry. Constantly. Never mind about leaving paint on the bristles, you'll just have to scrape it off on a cloth or hand like me. If it gets even a little wet, your dry-brush is ruined. Forever. That happened to me once and it was most disheartening. As for your stippling brush, though, you don't have to worry about that too much; my stippling brushes were nice to begin with but got used too much.

1: Macragge blue up to 3/4 of the way.
2: Sotek green up to a little over 1/2, and a bit on the tip.
3: Calgar blue up to 1/3 of the way, and a tiny hint on the tip and a fraction along the edges. I might add you only have to show the dry-brush the paint; you are going to want to have to scrape it off the brush onto the model.
4: Ceramite white on about 1/4 of the blade, along the tip and the edges.
Extra step 5: Take the stippling brush, get bit of watered-down ceramite white and flick the paint across the blade, aiming from the hilt up. Again, making sure not to use too much paint at once.
And that's it, really. You can now paint the hilt and finish the weapon. I might post a picture of the finished miniature later.
D
No comments:
Post a Comment